Product Reports
How To Restore & Repair Historic Lime Plaster
When people began plastering, approximately 14,000 years ago, they knew then what we know now – a successful new plaster or repair project depends on an understanding of the materials and the science behind them.
Know Your Materials
Lime, as a plaster material and mortar, has its roots in the Middle East; it can be traced back 140 centuries to northern Jordan. In the United States, historic plaster denotes lime plaster from pre-Colonial times to the early 1920s. Today, most plaster is still produced as it was historically – by heating either limestone or gypsum (or a combination of the two) at high temperatures.
Limestone
Above 800 degrees Celsius, limestone loses carbon dioxide to form lime, which cures slowly with atmospheric carbon dioxide. Processing must be done in a manner that reduces the particle size and increases the surface area, allowing the lime to release water slowly as it brings in air to carbonate. Once carbonated, lime plaster is highly water resistant, which makes it useful for exterior applications. Mixed with sand and hair, it makes coarse plaster, which can be used as a basecoat; combined with fine sand, it creates a finish-coat plaster that can be polished to a mirror-like sheen. Lime is also very flexible (it is capable of bending over time as the crystals slide past each other), which allows installed plaster to move with a building, thereby eliminating the need for expansion joints.
Gypsum
The use of gypsum, on the other hand, can be traced back to the ancient Egyptians, who used it to plaster the Great Pyramid of Giza. At 150 to 200 degrees Celsius, gypsum loses most of its hydration to form Plaster of Paris. Gypsum cures when mixed with water; on contact, it begins to dissolve and separate into its component compounds. Once it is mixed with water, gypsum sets quickly and forms a crystalline structure. As the plaster is mixed, these crystals generate more and more crystals until the wet plaster is completely set. Left alone, an open bag of gypsum will set from the ambient atmospheric humidity. Once gypsum plaster sets, it will not expand nor contract as all the crystals are locked together wherever they touch; as there can be no movement between the crystals without breakage, gypsum is inherently brittle.
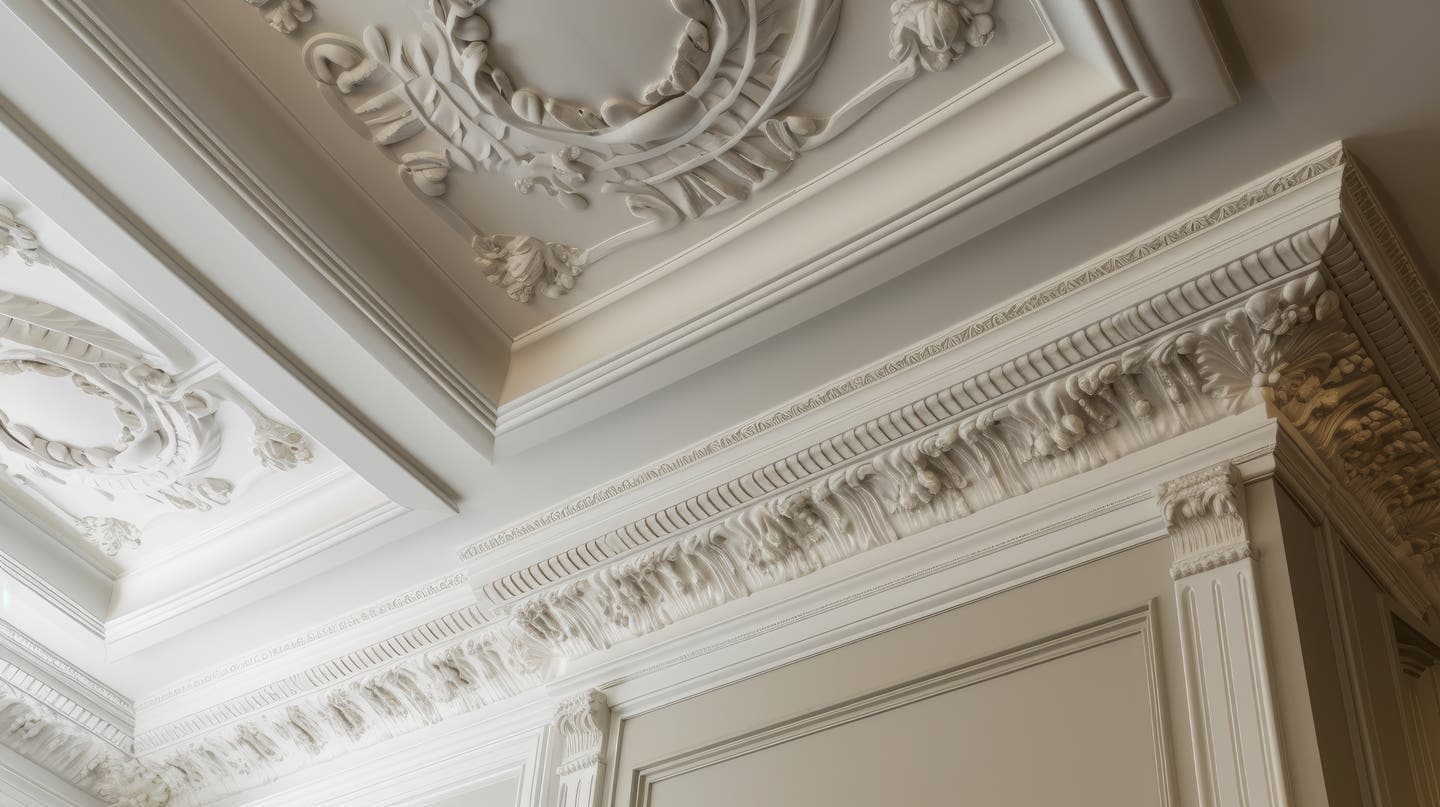
Knowing these properties allows lime and gypsum to be blended in different ratios to perform different tasks, from running cornice and moldings to applying different finish coats.
Why Keep Old Plaster?
The fact that lime plaster cures slowly gives it the qualities – flexibility, water resistance and longevity – that make it a viable candidate for maintenance and repair. Lime sets over an extended period of time and is still young at 100 years. Properly cared for, it can last for thousands of years. There is no other plaster that can make that claim.
Old plaster cannot be replaced with a material as good or better, so it is generally best to salvage as much as possible. In terms of time, repairing plaster takes half the time it takes to replace it. The cost of preserving old plaster is also significantly lower than the cost of installing new plaster. With the former option, demolition costs, clean-up costs, disposal costs and landfill costs are eliminated. When time and money are considered in analyzing a plaster problem, the repair of traditional lime plaster is the soundest investment that can be made.
Repairing Lime Plaster: Stabilization
Repairing plaster begins with stabilization – if plaster is not stabilized, repairs will simply not last. Conversely, once plaster is stable, almost anything done to its surface will work.
In choosing a method to stabilize plaster, it is important to have an understanding of the techniques and materials used in the construction of historic buildings. A typical residence from the 18th or 19th century was built with a stone or brick foundation and a braced frame with studding to attach strips of wood lath, which were then covered with lime, cattle hair (not horse hair) and sand plaster. The one common factor in each of these building components is that they are all similarly flexible: masonry foundations expand and contract with moisture and temperature changes, while wooden-braced frames with attendant framing and laths expand and contract in concert with the foundation. Articulations where these systems meet allow movement between them.
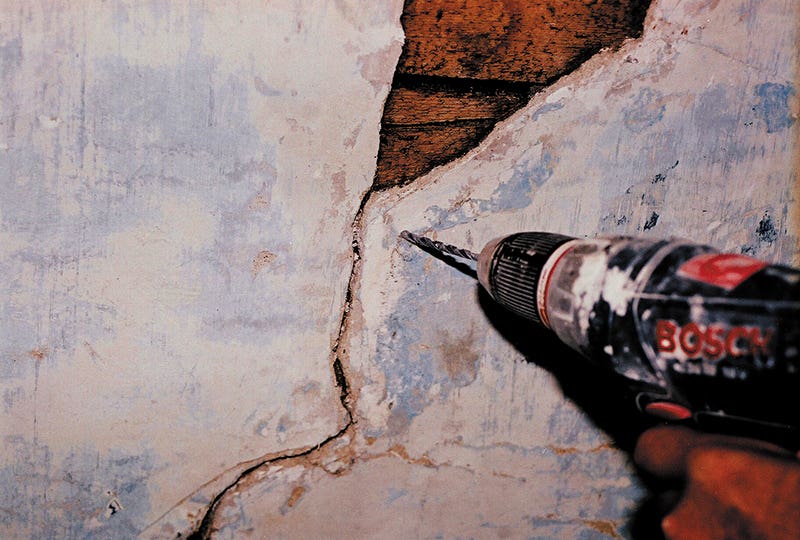
There are two ways to stabilize plaster. The conventional approach – using washers and screws to compress plaster to laths – has a couple of issues that make it incompatible with repair. First, washers and screws often crush plaster to the lath, fracturing its structure. Second, screws and washers create a very hard, narrow point of attachment that doesn’t move with the plaster or the building; when the plaster moves the washer around, it will break. The inevitable cracks that result from this method need to be bridged with a mesh to prevent them from showing. The cracks do not go away or come together; they are hidden under tape and joint compound. The mesh tape, screws and washers also need to be covered with multiple layers of joint compound and then sanded and/or sponged. Because the cracks will reopen under the mesh tape and the washers will show at some point, this type of repair is only short term.
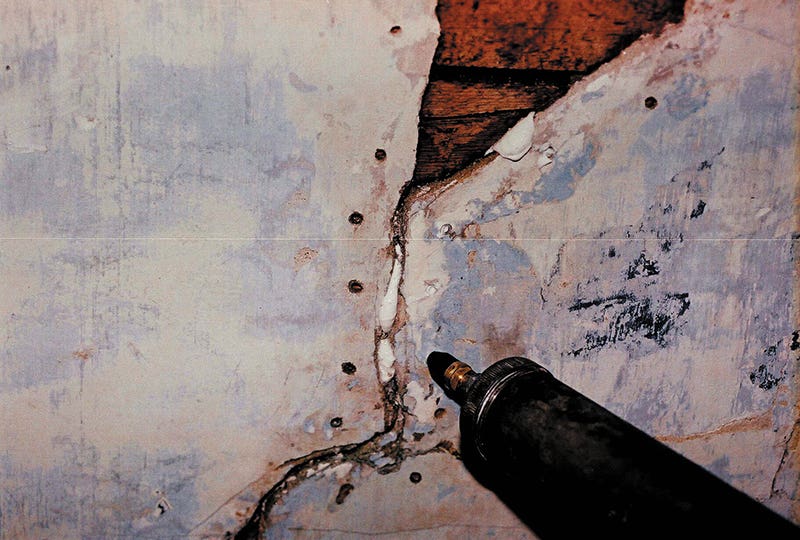
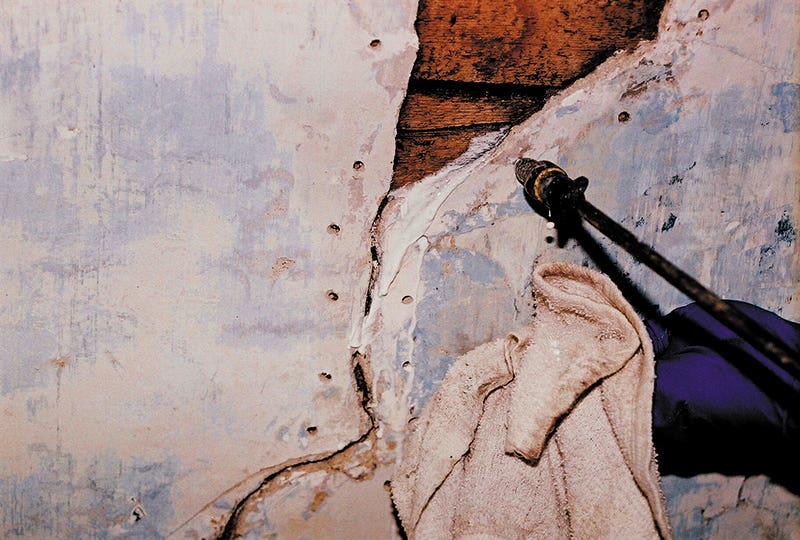
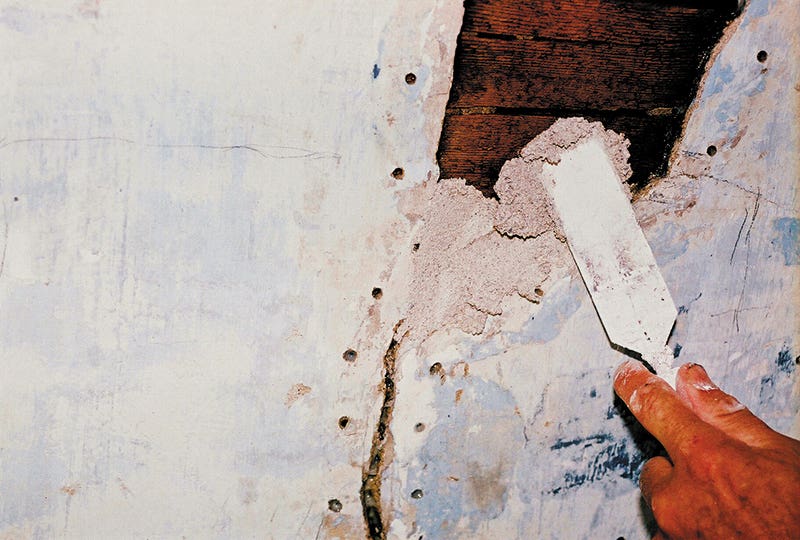
The preferred method of stabilization is the injection of a specially designed water-based adhesive. The adhesive provides a dispersed area of attachment that is flexible, leaving nothing on the surface to cover. The flexibility of the adhesive allows the plaster to move as naturally as it did when it was first applied. After the adhesive sets, the injection holes and cracks are simply filled.
Plaster Repair and Restoration
When approaching a plaster-repair project, it is important to first identify the historic plaster so that it can be matched. Lime plaster can be identified by the presence of hair in the mix. If it’s white with sand and hair, a little soft to the touch and seems old, it’s most likely lime plaster. Different types of hair and plant fiber were used, depending on what materials were available; the hardness of old plaster depends on its age.
These instructions should be followed to patch holes:
- Patching materials: Before applying new plaster, it is important to fix the problem that caused the plaster to fail. Possible causes of plaster failure range from water damage to structural problems. A patching material should be chosen – whether it be bonding agents, a lime-putty mixture or a combination of lime putty and gypsum – based on how long the repair needs to last.
- Bonding agents are a “paint like” material with a limited track record (compared to plaster and plastering techniques – a few decades versus tens of thousands of years). The bonding agent need not fail (adhesive failure) for the system (the collection of layers) to fail (cohesive failure). Each one of the links in the layers has the potential to fail.
- For large infill areas, the preferred patching material is a lime-putty mixture – one part lime putty to three parts sand. The sand should be clean, sharp and have a good size distribution. Mix in goat hair in the amount of 4 lbs. per cu.yd. After wetting the lath, apply the plaster in layers no more than 5/16 in. thick. Then build the plaster up to the desired thickness one layer at a time. Adding gypsum in amounts of less than 20 percent will increase the immediate “green” (or initial set) strength of the plaster without decreasing the performance of the lime plaster.
- For small areas of loss, the recommended compound for patching is a mixture of lime putty and gypsum. The ratio of materials is three parts lime putty to one part gypsum to a half part water (plus a little more). Form the putty into a ring or doughnut and pour the water into it, then sprinkle the gypsum into the water. The gypsum should soak up most of the water.
- Preparation for plastering: To prepare a hole for plaster, undercut the perimeter plaster to allow the patching material to nest under the existing secure plaster. Then spray the lath with water or “conditioner” until damp. The water must soak in prior to patching. After applying a thin layer of the plaster to the hole, wait 10 minutes before applying a second layer from the same mixture. Next, cut back the patching material, leaving ¼ to 1/8 in. for the finish layer. Make sure the plaster is set before applying the final coat.
- Raking: The big issue with cracks is whether or not to rake them. To know what to do, it is important to understand the structure of the plaster. In this instance, the important aspect is the fiber reinforcement in the plaster. If the crack is very large the fiber will be broken, so this area can be treated as a small-area repair. If the fiber is not broken or ripped, do not cause further damage by cutting this very important reinforcement. Once the crack is stabilized, the treatment of the plaster becomes cosmetic. At this point, ready-mix or time-setting joint compound can be used to fill in the cracks and surface divots without any compatibility issues.
- Resurfacing old plaster: What will it look like when it’s finished? Due to its ability to move and change shape, old plaster will have bumps and dents, ripples and smooth areas. To a small degree there will be some re-cracking (around one percent if there are no other building-stability issues that need attention). All these items are part and parcel and consistent with old houses; smoothness can only achieved with a new installation or resurfacing.
With resurfacing, one needs to keep in mind that every layer installed on an interior surface is a link in a chain. If one link fails then the entire system will fail. Plaster is applied in layers keyed together mechanically, with texture binding each layer to the next. If paint is applied to the surface, the wall is finished. To repair a surface by installing plaster on top of a painted surface represents a step backwards, as paint lacks the texture that plaster needs to bond properly.
That lime plaster has lasted with an extended track record makes it an ideal candidate for repair and maintenance. Sadly, historic plaster is the most at-risk historic fabric in the country today, despite the fact that substitute materials are inferior in both quality and longevity.


