Features
Home Insulation for Comfort and Efficiency

By Eric Corey Freed
In the 1940s, during a time of war and crisis, the government asked Americans to make sacrifices. Advertising campaigns were plastered across the country asking Americans to conserve energy by turning down their thermostats, to caulk around windows and to insulate their homes. The people listened and were willing to make such sacrifices in the larger name of victory.
Fast-forward almost 70 years and we Americans consume more energy (per person) than any other country on the planet. Yet our energy production is more precarious than ever. Over 70 percent of our oil is imported and most of our electricity comes from burning coal, the prime contributor to global warming and air pollution.
Buildings are energy hogs. A whopping 40 percent of all of our energy goes into our homes, offices and other buildings. We use copious amounts of energy just to keep things running and our buildings comfortable.
Heating and cooling a home can be expensive. The act of heating and cooling consumes between 50 to 70 percent of the total energy used in a home. Since it costs so much to keep a house at a consistent temperature, the better a house is insulated, the more money a homeowner will save and the more comfort they will receive.
The U.S. Secretary of Energy, Steven Chu, said, “For the next few decades, energy efficiency is one of the lowest cost options for reducing U.S. carbon emissions. Many studies have concluded that energy efficiency can save both energy and money.” The Wall Street Journal referred to such insulation efforts as the “firepower of the lowly caulking gun” to save America’s energy policy. We cannot afford to ignore our existing buildings. Insulating them is a vital part of our future energy policy.
Most of the older existing homes in this country are poorly insulated. There are over 50 million under-insulated homes in the U.S., wasting the equivalent of about 2 million barrels of oil every day in lost energy. By insulating these homes, we could conserve that energy and reduce our dependency on oil imports.
There is almost nothing that will have as big of an impact on home energy bills as insulation. The more insulation, the better it works, which lowers heating and cooling bills. A well-insulated home uses 30 to 50 percent less energy than a home without any insulation. Since heaters and air conditioners do not have to work as hard to keep the home comfortable, insulation also indirectly reduces maintenance and repair costs.
A house probably needs to be insulated if it was built before 1981; heating or cooling bills seem outrageously high; rooms are stuffy in summer or freezing in winter; it is being remodeled – this is the best opportunity to easily add insulation; and there are sound issues from neighbors or other outside sources.
Insulation works by holding in temperature, and the ability of a material to insulate is measured by what is called R-value. The higher the R-value a material has, the greater its insulating ability. Technically speaking, every material has at least some R-value, even glass (though it is very low). A typical wall (made of two-by-six wood studs) is thick enough to hold R-19 fiberglass batts.
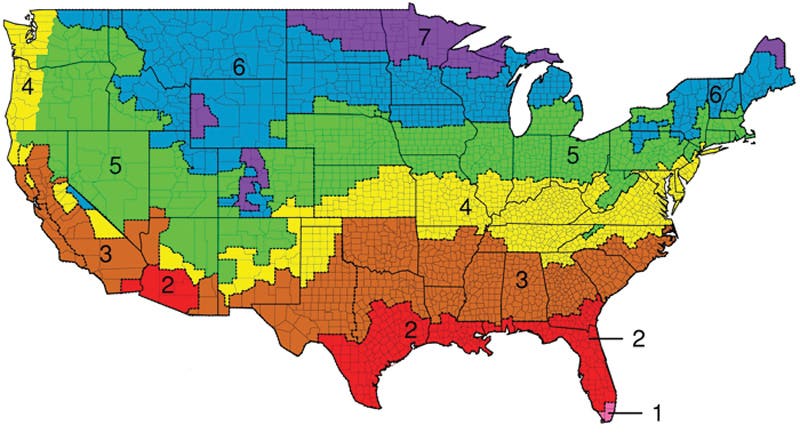
The amount of R-value needed depends on geographic location. Refer to the map (below)to figure out the recommended amount of insulation for walls, attics, ceilings and floors.
Types of Insulation
There are many types of insulation, and each has a different R-value. Most people are familiar with the “pink stuff,” but insulation comes in four major types: batts, loose-fill insulation, foam-in-place insulation and rigid foam insulation.
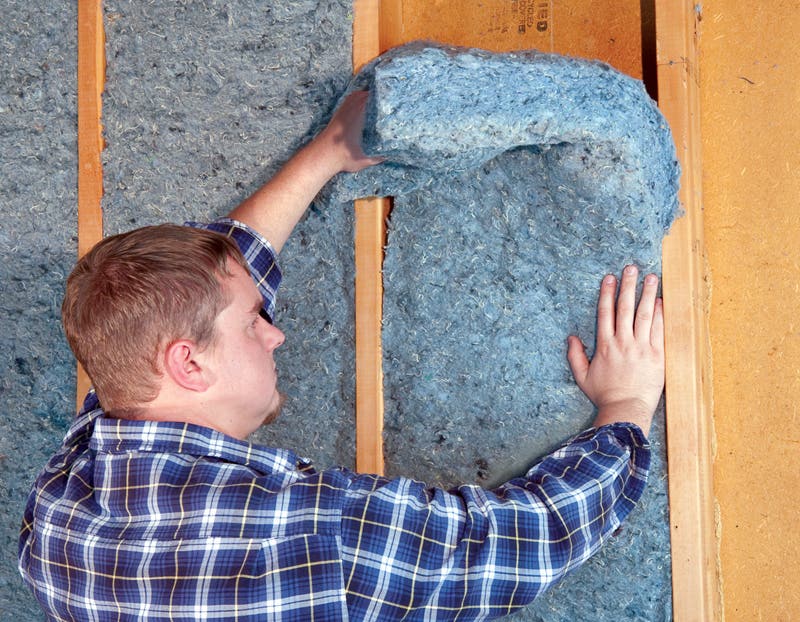
Batts are fluffy blankets of insulation and the most common type available. They come in rolls and install easily by filling the space between the studs in a wall or the joists in an attic or ceiling. Batts are available in pink fiberglass, rock wool or cotton. Green options are also available. If fiberglass is used, it should be formaldehyde-free. The greenest and healthiest choice of batts is recycled cotton, such as the recycled denim insulation by Bonded Logic. Not only is it recycled from a waste material, but it is also formaldehyde-free. As an option, batt insulation comes “faced” with kraft paper or foil. Facing is an outer layer that adds R-value. If there isn’t room for more insulation, faced batts may help to achieve the recommended R-value.
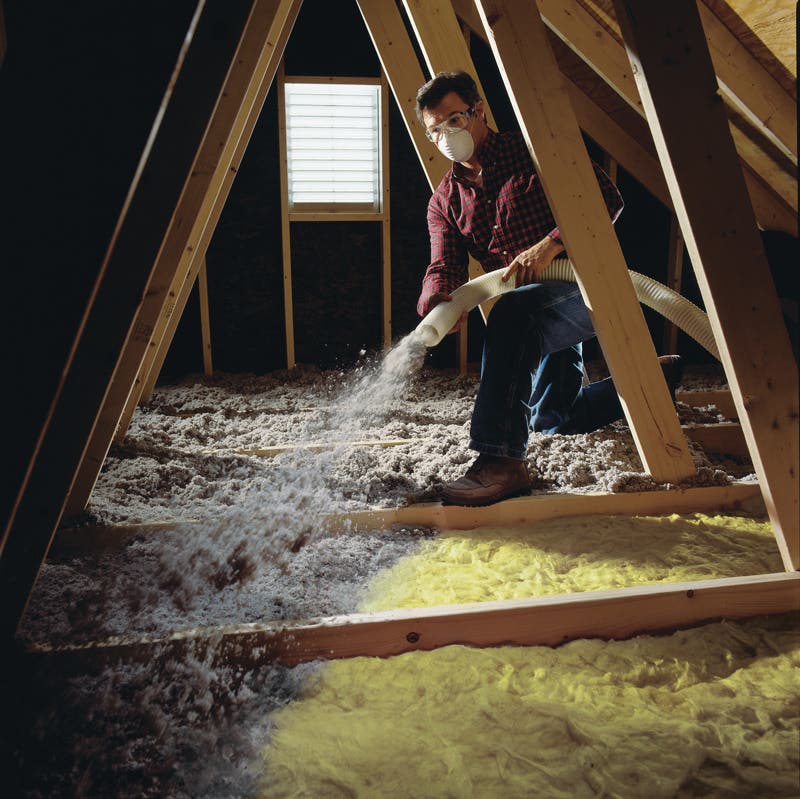
Loose-fill insulation consists of small, shredded pieces of insulation that are blown into place using a special instrument. The small bits fill up cavities and spaces and are perfect for hard-to-reach areas where installing other types of insulation would be difficult. Loose fill is available in fiberglass, rock wool or cellulose. Formaldehyde-free products include Spider fiberglass from Johns Manville; natural products, such as cellulose from recycled newspapers, are available from NuWool and GreenFiber. Loose fill is perfect for an attic where access is difficult or impossible. If installed in walls, loose fill has to be held in place by netting, or be slightly sticky to stay in place while waiting for the wall to be finished.
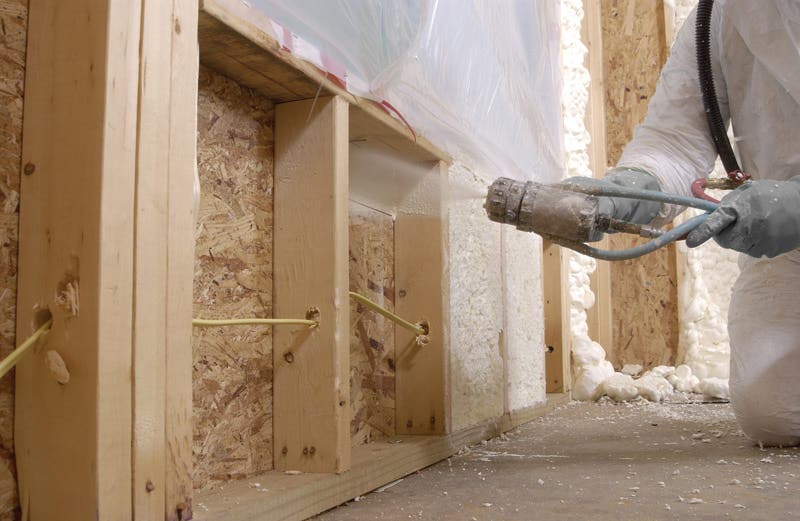
Foam-in-place insulation is similar to loose-fill in that you need special equipment to install it. Foam-in-place expands like shaving cream when installed. The expanding foam fills every nook and cranny, creating a super insulated wall. It’s perfect for walls, especially around windows and doors, where it prevents air leaks. A wide spectrum of foam-in-place products is available, including some very toxic chemical concoctions. The greenest and healthiest choice is a soy-based foam, such at the one from BioBased.
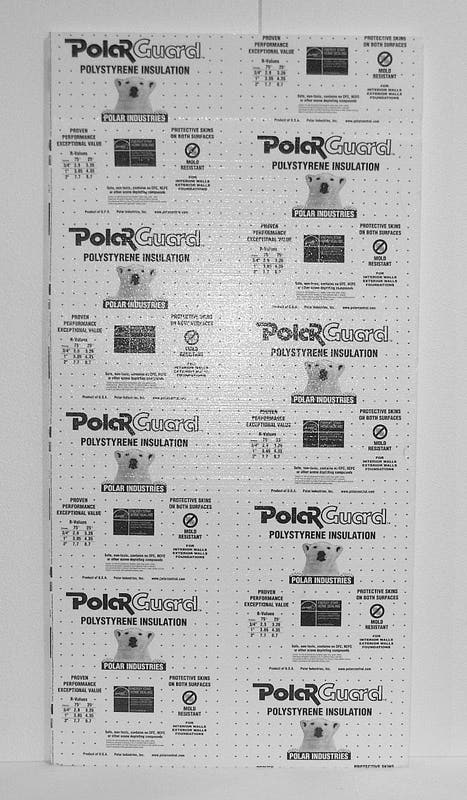
Rigid foam insulation is a stiff board, not fluff or foam. Although it is usually more expensive, it has up to double the R-value per inch and is used in places where space is limited. Rigid boards are often used in remodels where it is difficult to access certain areas or where there is not enough space for batts. Look for manufacturers of recycled content boards, such as Polar Industries, or polyisocyanurate (polyiso for short) boards, such as Atlas Roofing.
Where to Insulate
Insulation doesn’t just go in walls. It should also be included in the attic (insulate the floor and roof); crawlspace (an average of 80 percent of the air in a moldy, dank, cold crawlspace will end up in a house); foundation (more than half of a home’s heat leaks out of the edges of the foundation slab); and hot water pipes (adding insulation wrap to the hot water pipes is simple to do and especially important for pipes in crawlspaces).
The key to insulation is proper installation. Make sure the insulation is not compressed, especially on the edges and around wiring. Make sure it is in contact with the wall or ceiling – even small gaps will have a massive impact on the effectiveness of the insulation.
The Attic
Every existing home would benefit from adding insulation to the attic. Check the existing attic and measure the depth of the insulation. If there are fewer than 11 inches of fiberglass or rock wool, or less than eight inches of cellulose, then more should be added. A house should have between R-30 to R-60 in the attic. The key to insulating the attic is to install it on the floor. The goal is to prevent heat and air conditioning from being lost to the attic.
In many homes, loose-fill insulation is the easier type to install. It should be installed evenly around the entire attic. Avoid blocking any of the soffit vents around the edges of the roof. Do not allow the insulation to come into direct contact with recessed lights or any mechanical equipment. Special covers are available for recessed lights.
If batts are used in the attic, place the first layer between the floor joists. They should fit snugly. Place the second layer of insulation perpendicular to the first. This covers the top of the joists and ensures that there are no gaps. Don’t forget to cut a piece of rigid board for the attic access panel. Cut it to fit and glue it on the backside of the access door. If there is an attic ladder, keep a large, loose board in the attic to slide over the opening when closing up the ladder.
Existing Walls
It is incredibly difficult to insulate an existing closed wall. Holes are cut into the wall near the ceiling every 16 inches and loose-fill insulation is pumped into the wall. The holes are patched when complete. It is a messy and ineffective way to insulate, but it is less wasteful that ripping off the layer of drywall and replacing it later.
My advice is to wait. If future plans include remodeling or replacing exterior siding, this will allow access to the wall and that might be a better time to insulate. If it is unclear if a wall is insulated, take the cover off an electrical outlet and peek in with a flashlight.
Insulation only works when installed properly. It should completely fill the space between the joists; fit snugly at the sides and the ends; not be pinched or compressed; and be cut to fit around plumbing, wiring and vents.
Make sure the insulation continues to the edges, as small gaps have a huge effect on performance. For large pipes, peel the batt insulation in half and place one layer behind the pipe, the other in front. Always wear gloves, eye goggles, a breathing mask and a long-sleeve shirt if installing or coming into contact with the insulation. Never touch your face or rub your eyes while handling insulation. Bare skin and insulation do not get along.
Recessed light fixtures act as large holes in a ceiling and are a major source of heat loss. A light can only be covered with insulation if marked “IC” – meaning it is safe for insulation contact. Otherwise, use a cover or baffle to keep the insulation from coming into direct contact with the light.
If a re-roofing is planned, consider installing a radiant barrier below the roof. Its reflective surface will cool the attic even more, working with the attic insulation. Attics above a garage don’t need to be insulated, since they are not usually heated or cooled. Unless you spend time in your garage or need to cool it, skip it.


